A truly sharp kitchen knife is more than just a tool; it’s an extension of your culinary intention, transforming cooking from a chore into a seamless dance. Yet, even the finest blades eventually lose their pristine edge. This is where the humble kitchen knife sharpening stone steps in, a timeless instrument that, when wielded correctly, breathes new life into your most prized cutlery. Forget those flimsy pull-through sharpeners that chew away at your precious steel; mastering a sharpening stone, also known as a whetstone, is the path to achieving consistently razor-sharp edges, enhancing both your safety and precision in the kitchen.
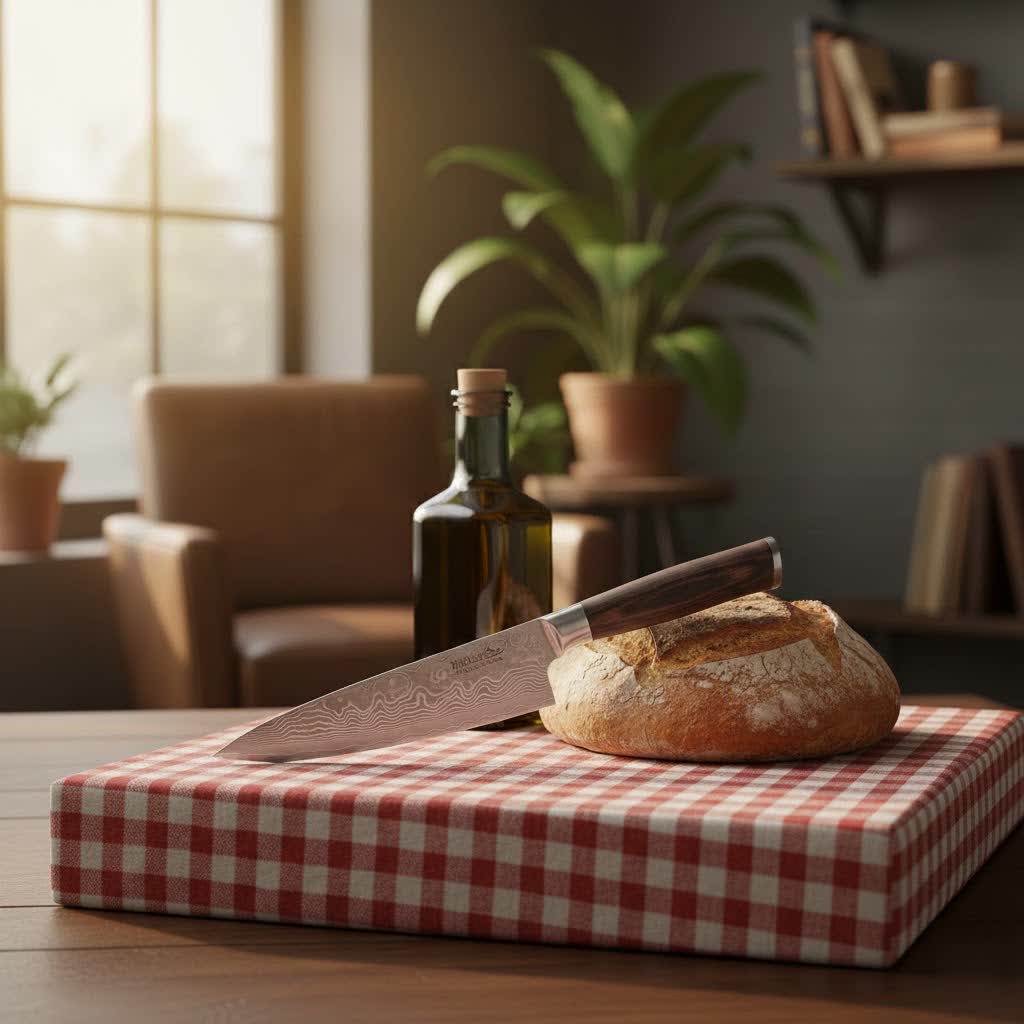
Many aspiring chefs and home cooks often confuse “honing” with “sharpening.” While both are vital for knife care, they serve distinct purposes. Honing, typically done with a honing steel, realigns the microscopic edge of a blade that has bent or rolled from regular use. It doesn’t remove significant material but straightens the edge, making it feel sharper. Sharpening, on the other hand, involves removing small amounts of steel to create an entirely new, sharp edge, a process best undertaken with a dedicated kitchen knife sharpening stone when your blade feels truly dull or damaged.
What’s the “Grit” All About? Decoding Sharpening Stone Numbers
Have you ever looked at a sharpening stone and wondered what those mysterious numbers like 1000/6000 mean? These numbers refer to the stone’s “grit,” indicating the size of the abrasive particles embedded within it. Understanding grit is fundamental to selecting the right stone for your needs and achieving the perfect edge. Generally, a larger grit number signifies smaller abrasive particles and a finer stone, designed for polishing. Conversely, a smaller grit number means larger particles and a coarser stone, ideal for aggressive material removal.
The Basics: Grit Explained
|
Our Picks for the Best Chefs Knife in 2026
As an Amazon Associate I earn from qualifying purchases.
|
||
| Num | Product | Action |
|---|---|---|
| 1 | imarku Japanese Chef Knife - Sharp Kitchen Knife 8 Inch Chef's Knives HC Steel Paring Knife, Unique Gifts for Men and Women, Gifts for Mom or Dad, Kitchen Gadgets with Gift Box, Gyutou Knives |

|
| 2 | PAUDIN Chef Knife, 8 Inch High Carbon Stainless Steel Sharp Kitchen Knife with Ergonomic Handle, Gift Box for Family & Restaurant |
|
| 3 | HENCKELS Classic Razor-Sharp 8-inch Chef Knife, German Engineered Informed by 100+ Years of Mastery |
|
| 4 | 8 Inch Professional Chef Knife with Leather Sheath, Ultra Sharp Kitchen Knife with G10 Handle,Full Tang, Gyuto Style for Home Cooking and Outdoor BBQ, for Men and Women |
|
| 5 | Victorinox Swiss Army 5.2063.20-X14 Fibrox Chef's Knife Black 8 in |
|
| 6 | Okami Blades Classic Chef Knife 8 Inch – Japanese AUS 8 Steel Gyuto Knife, Ultrasharp & Perfectly Balanced Kitchen Knife with Rosewood & Ebony Handle for All Your Kitchen Tasks |
|
| 7 | MOSFiATA 8" Super Sharp Professional Chef's Knife with Finger Guard and Knife Sharpener, German High Carbon Stainless Steel EN1.4116 with Micarta Handle and Gift Box |
|
| 8 | Mercer Culinary M22608 Millennia Black Handle, 8-Inch, Chef's Knife |
|
| 9 | HOSHANHO Kitchen Knife in Japanese High Carbon Steel, Professional High-Class Chef's Knife 8 inch, Non-slip Ultra Sharp Cooking Knives with Ergonomic Handle |
|
| 10 | Cuts Like Butter 6.2 Inch Meat Cleaver Butcher Knife with Leather Sheath, Wooden Gift Box, Full Tang High Carbon Steel Japanese Chef Knife for Kitchen Outdoor, Gifts for Women Men Christmas Birthday |
|
The abrasive particles in a sharpening stone are the tiny “teeth” that abrade and refine your knife’s edge. The coarseness or fineness of these particles directly dictates how much metal is removed and the ultimate finish of your blade. Think of it like sandpaper: you start with a rougher grit to remove imperfections, then move to progressively finer grits to smooth and polish. This systematic approach is key to developing a truly keen edge.
Coarse Grits (100-600): Reshaping & Repair
When your knife has seen better days—perhaps sporting chips, nicks, or is incredibly dull and struggles to cut anything—you’ll reach for a coarse grit kitchen knife sharpening stone. These stones, typically ranging from 100 to 600 grit, are the heavy lifters. They quickly remove significant amounts of steel, allowing you to repair damage or even re-profile a blade that has an incorrect or worn-out edge. For instance, a 100-300 grit stone is exceptionally aggressive and primarily used for major repairs, while a 400-600 grit stone is sufficient for regular sharpening of a very dull knife.
Medium Grits (600-3000): Daily Sharpening & Refinement
For most home cooks, a medium grit sharpening stone is the workhorse of their knife care arsenal. Stones in the 600 to 3000 grit range strike a versatile balance between sharpening and polishing. If you’re investing in just one kitchen knife sharpening stone, a 1000 or 2000 grit option is often recommended as a perfect starting point for routine maintenance, capable of restoring a moderately dull edge and smoothing it out. Moving up to a 2000-3000 grit stone further refines the edge, preparing it for the final, more delicate polishing stages.
Fine to Ultra-Fine Grits (3000-8000+): Polishing for Razor Sharpness
This is where the magic truly happens, transforming a merely sharp edge into a culinary scalpel. Fine grit stones, typically from 3000 to 8000 grit, don’t remove much metal. Instead, they meticulously polish the blade’s edge, making it incredibly keen and smooth. Many professional chefs find a 4000-5000 grit stone sufficient for achieving a razor-sharp edge on most kitchen knives. For those seeking the ultimate mirror-like finish, often favored for specialty knives like sushi knives where absolute precision is paramount, an 8000 grit sharpening stone or even higher (up to 30000 grit for enthusiasts) can be used for that luxurious, ultra-smooth edge.
A Stone for Every Blade: Types of Sharpening Stones
The world of sharpening stones offers a variety of materials, each with its own characteristics and preferred lubricants. Knowing the differences will help you choose the best kitchen knife sharpening stone for your collection.
The Traditional Choice: Oil Stones
Oil stones are perhaps the most traditional type of sharpening stone. These robust stones, made from either natural materials like Novaculite (often called Arkansas stones) or synthetic materials such as aluminum oxide or silicon carbide, are known for their durability. As their name suggests, they require a light coating of honing oil before use. This oil acts as a lubricant, reducing friction between the stone and the blade, and helps carry away the metal particles (swarf) removed during sharpening, preventing the stone from clogging. While oil stones are long-lasting and often more affordable, they tend to cut at a slower rate compared to other types.
The Modern Favorite: Water Stones (and “Splash-and-Go”)
Water stones have soared in popularity, especially among those who frequently sharpen kitchen knives. Made predominantly from aluminum oxide, these stones use water as a lubricant. Many traditional water stones require soaking in water for 10-45 minutes until they stop bubbling, indicating their pores are saturated. This allows the blade to glide smoothly and facilitates faster cutting. However, their softer nature means they wear down more quickly and need occasional flattening to maintain an even surface. A newer variant, “splash-and-go” water stones, offers the convenience of requiring only a quick splash of water before use, making them ideal for quick touch-ups.
The Indestructible Edge: Diamond Sharpening Stones
For the ultimate in sharpening power and durability, look no further than diamond sharpening stones. These aren’t traditional stones but rather metal plates with micron-sized industrial diamonds electroplated onto their surface. Diamonds are the hardest known material, making these stones incredibly fast-cutting and capable of sharpening virtually any blade, including hardened steels and even ceramic knives. They are extremely durable and retain their shape exceptionally well, rarely needing to be flattened. Diamond stones are available in various grits, from extra coarse to ultra-fine, and come in perforated designs (with holes to catch swarf) or continuous surfaces. While they tend to be a more significant investment, their longevity and effectiveness make them a favorite among professionals and serious enthusiasts.
From Dull to Dazzling: Step-by-Step Sharpening with a Stone
Sharpening a knife with a stone might seem intimidating at first, but with practice, it becomes a meditative and rewarding skill. Here’s a detailed guide to help you master your kitchen knife sharpening stone.
Preparing Your Stone for Action
Before you begin, ensure your workspace is stable and safe. If you’re using a water stone, submerge it in water until it stops bubbling (unless it’s a splash-and-go variety). For oil stones, apply a light, even coat of honing oil. Place your sharpening stone on a non-slip surface, like a damp kitchen towel or a specialized stone holder, to prevent it from moving during the process. If your stone is dual-sided, start with the coarser grit facing up.
The Art of the Angle: Finding Your Blade’s Sweet Spot
Maintaining a consistent angle is perhaps the most critical aspect of effective sharpening. Most Western-style kitchen knives typically require a sharpening angle of 20 degrees per side, while Japanese-style knives often use a finer 15-degree angle. “Think of the angle as the soul of your blade,” advises Chef Antoine Dubois, a renowned culinary instructor and master bladesmith. “It dictates how well your knife will cut and how long it will hold its edge. Consistency is far more important than achieving an exact number.” To find your angle, hold the knife with the cutting edge facing away from you, with the heel of the blade resting on the stone. Tilt the knife until the entire bevel (the ground part of the blade that leads to the edge) lies flat against the stone. Angle guides can be incredibly helpful for beginners.
The Sharpening Stroke: Creating a Burr
With your dominant hand gripping the handle and the fingers of your non-dominant hand resting on the flat side of the blade (applying light, even pressure), begin your stroke. Sweep the knife across and down the stone in a wide, semi-circular motion, as if you’re guiding the knife towards your hip. Ensure the entire length of the blade, from heel to tip, makes contact with the stone. Repeat this motion for about 10-15 passes, or more for very dull knives. You’ll know you’re making progress when you feel a slight “burr” – a tiny wire-like edge – forming on the opposite side of the blade. This burr indicates that you’ve effectively removed enough steel from one side. Once a consistent burr is formed along the entire edge, flip the knife over and repeat the process on the other side, using the same angle and number of passes, until a burr appears on the first side.
Refining and Polishing Your Edge
After developing a burr on both sides with your coarse or medium grit stone, it’s time to refine and polish the edge. Switch to a finer grit kitchen knife sharpening stone. The process is similar: maintain your angle, use lighter pressure, and make controlled strokes. The goal now is to remove the burr and smooth out the microscopic scratches left by the coarser stone. Alternate sides frequently, perhaps 5-10 strokes per side, gradually reducing pressure until the edge feels incredibly smooth and sharp.
Testing Your Edge: Is It Truly Razor-Sharp?
Once you think your knife is sharp, it’s time for the ultimate test. Here are a few reliable methods:
The Paper Test
Hold a sheet of paper upright with one hand. With your newly sharpened knife, try to slice through the paper from the top edge. A truly sharp blade should slice cleanly and effortlessly through the paper without tearing or catching.
The Tomato Test
Place a ripe tomato on a cutting board. Without applying downward pressure, try to slice through the tomato’s skin. A razor-sharp knife should glide through the skin and flesh cleanly, without crushing or dragging.
The Arm Hair Test (Use Caution!)
For the truly daring, carefully attempt to shave a few hairs from your arm or leg by holding the blade at a very shallow angle against your skin. A finely polished edge should shave hair easily, indicating exceptional sharpness. Exercise extreme caution with this test.
Beyond the Edge: Benefits of a Sharpening Stone and Maintenance Tips
Investing your time in learning how to use a kitchen knife sharpening stone offers numerous advantages that extend far beyond simply having a sharp blade.
Why a Quality Edge Matters
A sharp knife isn’t just for show; it’s a matter of safety and efficiency. A dull knife requires more force, increasing the risk of slips and accidents. A sharp knife, by contrast, cuts precisely with minimal effort, reducing fatigue and making your kitchen tasks more enjoyable. Moreover, proper sharpening prolongs the life of your knives, as you’re only removing minimal steel to restore the edge, rather than aggressively grinding it down. “A well-maintained knife speaks volumes about the chef,” says Chef Dubois. “It shows respect for ingredients and mastery of the craft.”
Keeping Your Stones in Top Shape
Just like your knives, your sharpening stones need care. Water stones, being softer, will eventually develop hollows or uneven surfaces from use. To maintain their effectiveness, they need to be “flattened” periodically. This can be done using a flattening stone (also called a dressing stone) or by rubbing the water stone on a flat surface with coarse wet-dry sandpaper (e.g., 100-grit) until it’s perfectly flat again. Oil stones and diamond stones are harder and generally require less maintenance in terms of flattening, but should always be kept clean and free of embedded swarf. Always rinse your stones after use and allow them to air dry completely before storing them to prevent mold or cracking.
Choosing Your Perfect Sharpening Stone: A Buyer’s Checklist
Selecting the ideal kitchen knife sharpening stone can feel overwhelming with so many options. Here’s a quick guide:
Consider Your Knives and Skill Level
- For repairs and very dull knives: Start with a dual-sided coarse/medium grit stone (e.g., 400/1000 grit).
- For regular maintenance: A medium/fine grit combination (e.g., 1000/3000 or 1000/6000 grit) is highly versatile.
- For specialized blades (sushi knives) or mirror polishes: Consider adding a very fine grit stone (8000+ grit).
- Beginners: Look for kits that include an angle guide and a non-slip base to help develop consistent technique.
What’s in a Kit?
Many sharpening stone sets come with helpful accessories like a bamboo base, a non-slip rubber mat, an angle guide, and sometimes a flattening stone or leather strop. These additions can greatly enhance your sharpening experience, especially if you’re just starting your journey into the art of blade maintenance.
Conclusion
The kitchen knife sharpening stone is an unsung hero of the culinary world, offering the power to transform dull, frustrating blades into precise, joyful instruments. By understanding the nuances of grit, the different types of stones, and the fundamental techniques, you’re not just sharpening a knife; you’re engaging in a craft that connects you more deeply with your cooking. The satisfaction of a truly sharp knife, effortlessly gliding through ingredients, is a testament to your skill and care. So, embrace the stone, practice your strokes, and elevate your kitchen experience to new, exquisitely sharp heights.
